Showing posts with label tutorials. Show all posts

Thursday, October 28, 2010

How to Grow Pajamas

As mentioned in a recent post I recently re-sized some pj's for my son. I can't take credit for this idea, I happened upon some pj's years ago in a bag of hand me downs that were my nephews. One of my sisters grandmotherly in-laws had used this trick on a pair of pajamas, genius I thought and stored it away. It's probably a depression era trick.

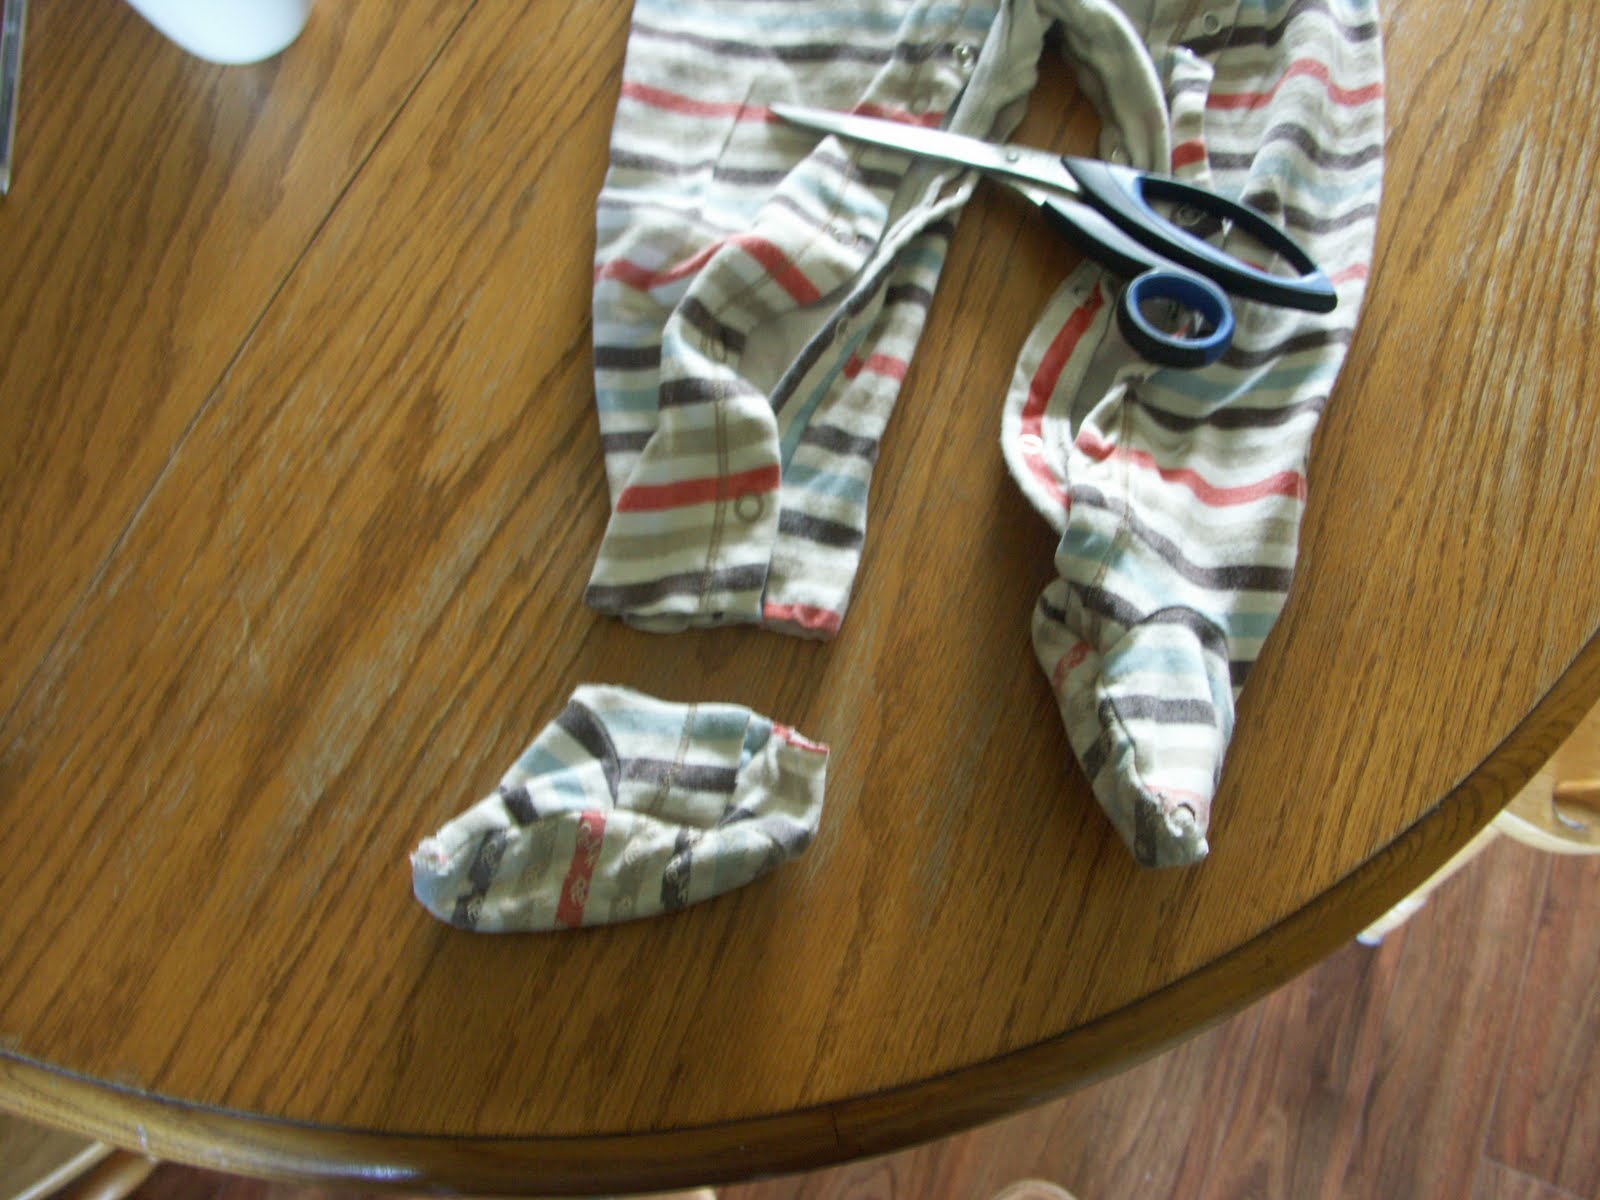
I should have taken some pictures along the way, but I didn't so hopefully these pictures help...it's very simple to do. The idea is just to add length to the body, arms and legs.

In our house kids tend to grow taller faster than anything else. So the jammies still fit in the waist but they get too short in the arms and legs and tummies catch a cool breeze.


Soooo, onto some instructions


-find some similar matching (or not) fabric. Try to use a similar weight of fabric as the original jammies are. (these pj's are flannel and I used microfleece, it worked fine)

-cut into the pj's. Just a single straight cut across each arm and leg and across the torso of the shirt. You're not removing any fabric here, just cutting straight across to allow you to insert the new fabric.

-using the pj's for sizing cut the fabric inserts, add about 1/4" to allow for seaming along the sides too. Make the fabric as long as you need, I'd say I cut mine in the range of 3" and that's giving my son plenty more room to grow.

-sew along any side seams on your fabric inserts

-next pin your new fabric into the pj's and sew them in (see the top photo)


That's it! It would've been easy enough to go buy some new pj's (but honestly I'd have rather not!). These pajamas were thrifted and my son has been wearing them for about two years, now they'll last another stretch and likely be handed on to a nephew.

Thursday, May 6, 2010

New life to some jammies...

I've been spending a lot of time thinking about up-cycling and re-purposing clothing. I've got plenty of projects swirling around in my head so I'm really hoping I can blog some of them out. This project is honestly kinda boring but it's practical. I do have funner projects brewing :)


So fixing up some jammies....the toes on this pair of sleepers has blown out. But this tutorial may also be helpful if the legs on your kiddos sleepers have gotten to short or if your little one (like mine) is going crazy in footed pj's. Now that our daughter is walking footed jammies are also driving me crazy. After getting this pair fixed up I realized I could also cut off the legs and arms of the sleepers and turn them into summer sleepers.

You'll need scissors, a sewing machine (you could also hand stitch too), thread, and some scraps of knit fabric (an old t-shirt with some stretch would work well). I used my serger but a sewing machine will work just as well.

First cut off the feet of the sleepers *be sure that you cut down far enough from the bottom snap to allow you sewing room below the snap, otherwise you'll be hitting the snap when sewing and that's just a pain* On this pair I left about 1.25" below the last snap and it was perfect. Baste along the bottom edge about 1/4" this just helps keeps the pieces aligned when you sew the cuffs on later.


Cut two rectangles from your knit scraps, these will become the cuffs. Make them approximately 5" by 3.25" (the pair of sleepers I'm working on are a 24m size so depending on the size of your sleepers you may need to make the rectangles smaller or larger). Fold them in half so that the two shorter end meet. Sew along this end, leaving 1/4" seam allowance.


Then fold the rectangle into itself so that seam becomes hidden (I should've taken a better picture of this). What you'll have is a cuff so the raw edge will be sewn onto the raw edge of the leg of the sleepers and the folded edge will be the bottom of the cuff.


Now pin the cuff to the sleeper legs. Pin them together so that the raw edge of the cuff and the raw edge of the sleeper meet and they're right sides together. Then sew along the cuff, leave a seam allowance of 1/4" or so. Remove your pins and fold down the new cuffs.


See, good as new! I know my daughter is going to love her new found foot freedom in these jammers :)

Tuesday, January 20, 2009

Do-It-Yourself Postpartum Pad Tutorial


The cost of investing in postpartum cloth can be overwhelming especially with all the other expenses of maternity clothes and baby gear.

I created this tutorial with a few things in mind....I wanted it to be possible to create super affordable pads (even if you don't have a sewing machine) and wanted to create a pattern that could incorporate recycled fabrics. You can also buy the fabric and notions you'll need at a fabric shop.

This pad uses microfleece as the backing with a core and top layer of flannel. The flannel edges are finished using a simple scissor snipping technique just like a rag quilt.


This is the first tutorial I've done so please feel free to leave questions and comments, I'll try to respond to them quickly but I'm expecting a baby myself so I may be hmmm delayed!!


What you'll need

Paper
to draw the pattern out on

Flannel
re-use some old sheets or receiving blankets; just be sure the flannel isn't thread bare....you want it to be absorbent. New flannel is pretty inexpensive and there's lots of fun prints to choose from

Micro fleece
re-use a blanket, pj pants, or purchase some at a fabric shop


Notions
Scissors, thread, pins, Velcro or snaps


First off is the pattern, I don't know how to make a pdf pattern so I've included some pictures with the measurements for you to trace out, I used a piece of legal size paper to draw my pattern on but newsprint or tissue paper also works well.


You can see the measurements on these drawings. The first picture is of the piece you'll use to cut the micro fleece bottom. If your paper is folded in half the wing measurement will be 4.25" out from the centre. The second picture is the pattern you'll use to cut the core from using flannel.

To sketch these measurements out try folding your paper in half so that the sides are symmetrical.


Once you have your pattern pieces cut and ready you can start cutting your fabrics. For each pad you'll need to cut 1 micro fleece bottom piece and 7 layers of flannel cut for the core.


Set your microfleece bottom aside, you'll be working on the core next. Pin your layers of flannel together and get ready to sew them. You can sew them by hand, or with a sewing machine, leave a 1/4" edge with the right side of the fabric facing out. Just a simple straight stitch.
The nice part about this pattern is that there's no turning & top stitiching so it saves you some sewing work....especially nice if you're sewing them by hand or if your sewing machine is a clunker that hates too many layers!! I used the same technique to diaper doublers for my sons diapers, I had an old singer that was great but didn't like many layers.

I've used my sewing machine to stitch the core together. (sorry for the dark picture)


Once you have your core layers sewn together you're ready to do some snipping. A sharp pair of sewing scissors will make this job easier. Snip into the outer edge of the pad (just be careful not to snip through your stitches!) snip at about 1/4" intervals all the way around the pad.


This is the same technique used to make the popular rag quilts. Once you've washed your pads a few times the raw flannel edges will fluff up.

Now you'll need the microfleece base. Centre your core on the microfleece and pin it securely. Next, attach the core to the microfleece by sewing a straight stitch about 1/4" from your first row of stitching.


Once the core layers area attached to the microfleece base you're almost finished. You'll just need to attach fastener to the wings. I've used poly-resin snaps and a snap press. If you don't have access to a snap press velcro would work well or some snaps that you can sew on (available at a fabric shop). If you're stuck a plain old safety pin would work too :)